9406-600 Power Supply Replacement
Step-by-step guide
Remove the Covers
This step requires 15-45 minutes
- Power down system if it isn't already down
you may
power off the system by doing the following
- sign off all other workstations
- go to a command line
- on the command line type 'go power' then press
ENTER.
- Select option 3
- continue to next stop once the system is completly
shut down
- Unplug power cable
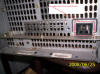
- Mark the location of cables and remove all cable attachments in the rear
of the AS/400
- you can always make a chart of plug-in locations if you don't think
you'll remember!
- Take the AS/400 to a location where you can blast it out with an Air
Compressor
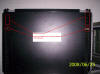
- Remove the front cover
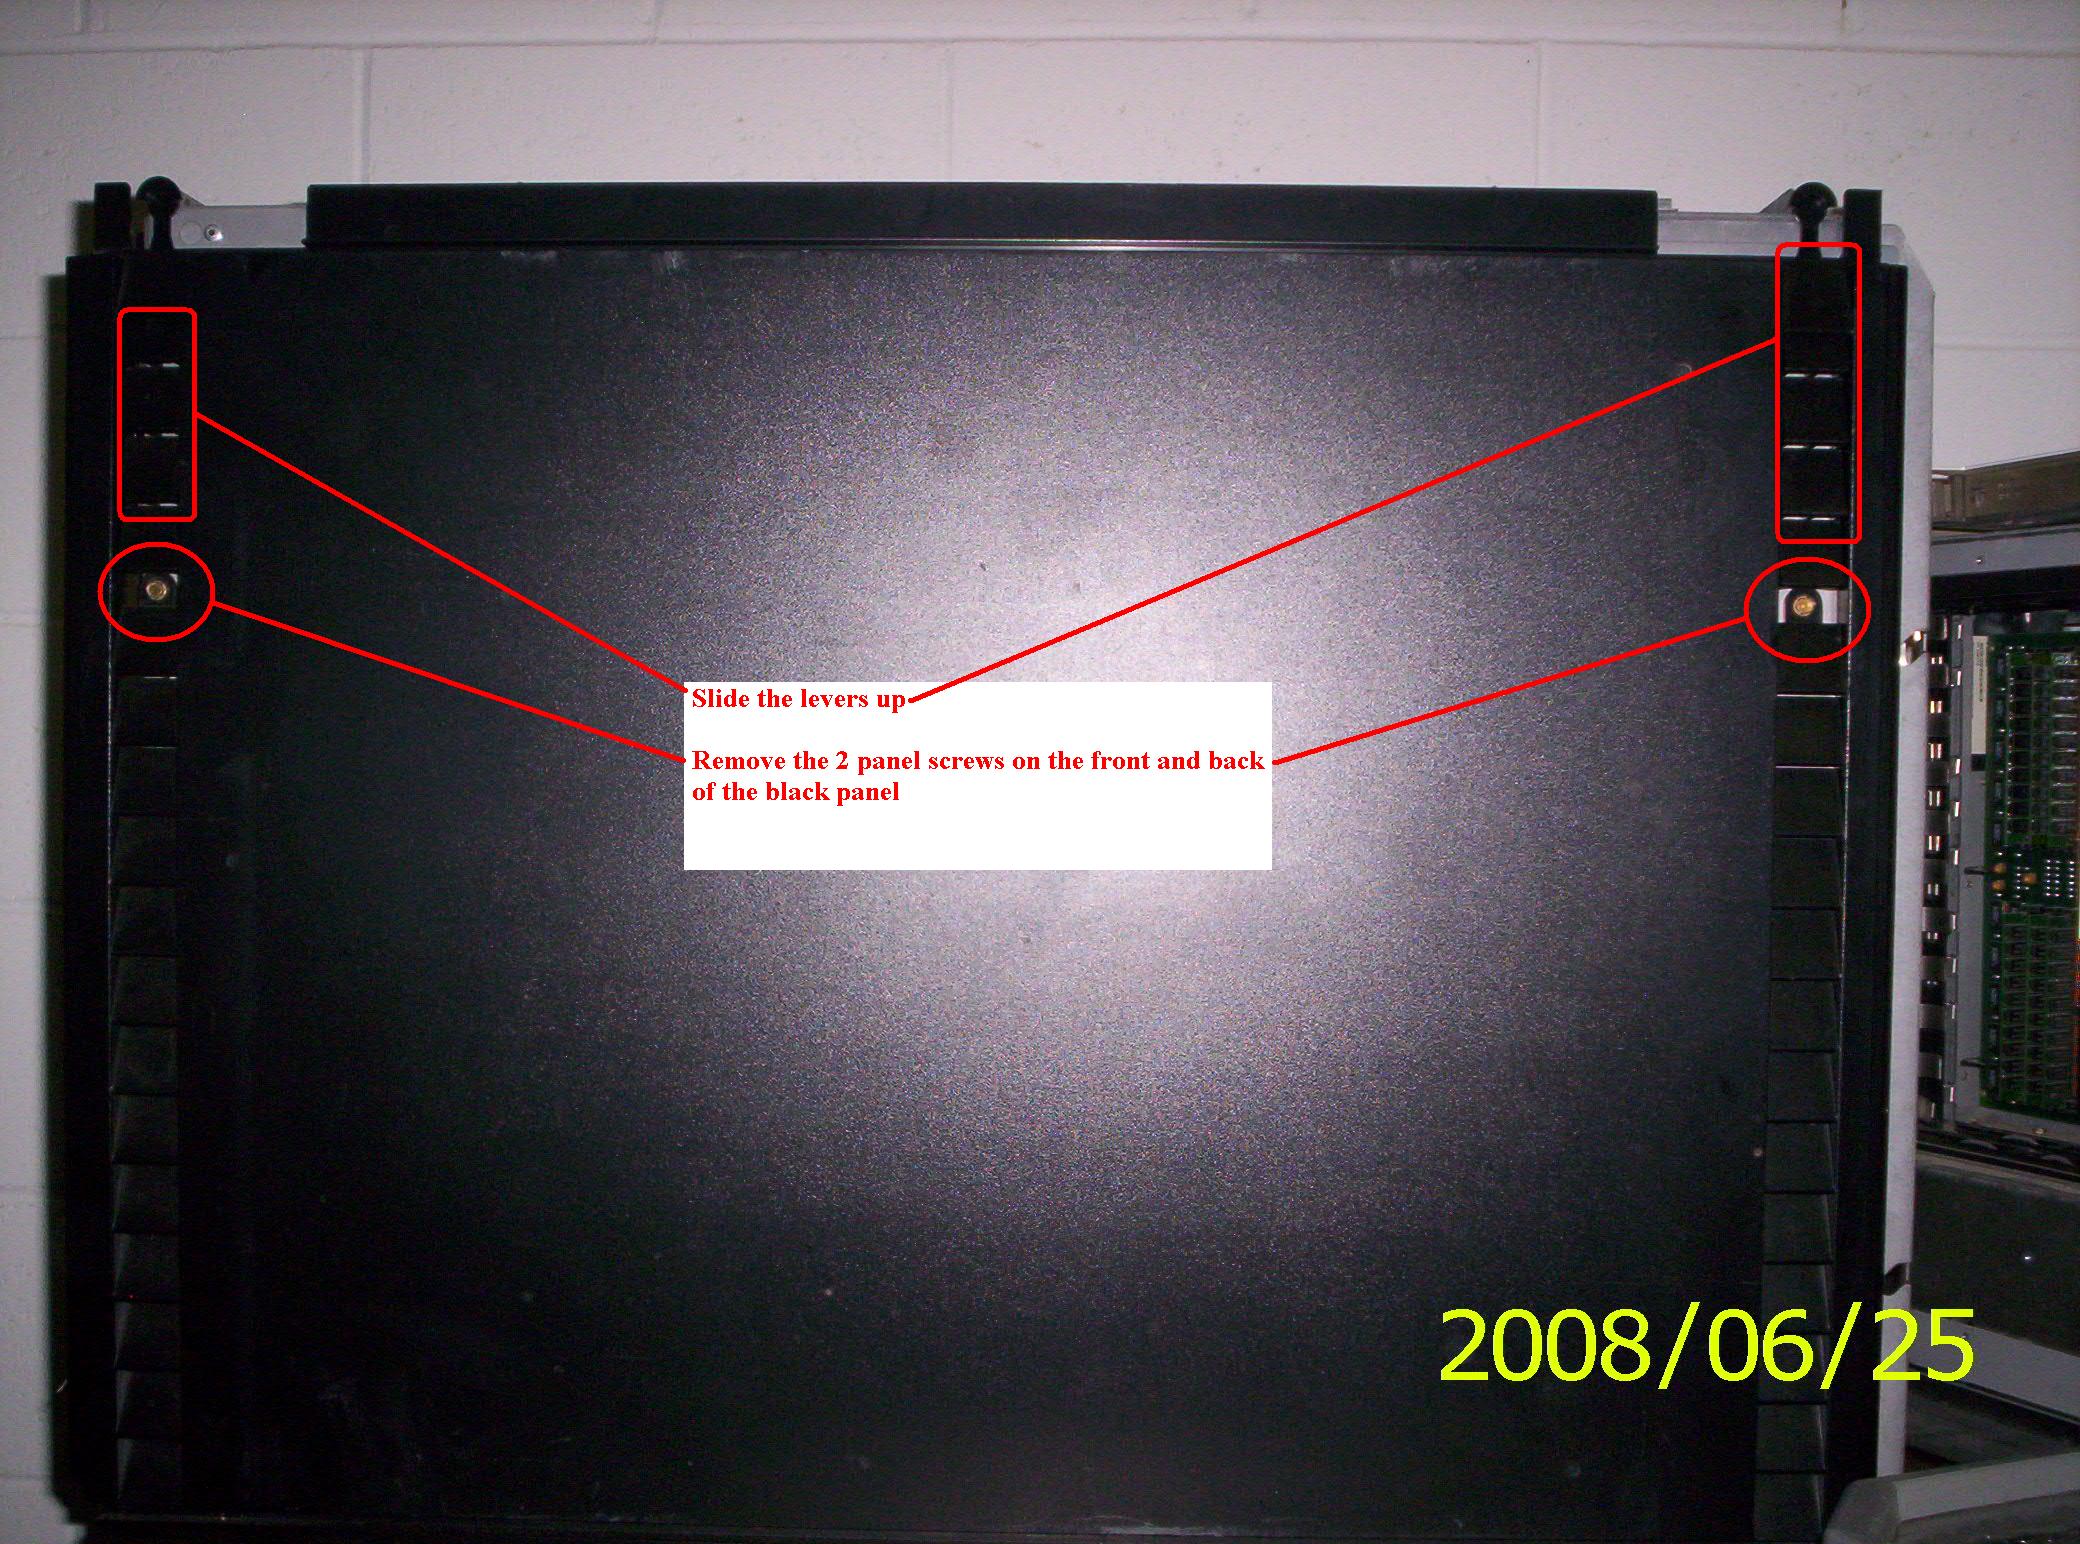
- Loosen but don't remove the screws holding on the top panel. There
should be one in the front and 1 in the back.
- Remove the black top panel
- Remove the 2 black side panels. Each side is held on by 2 screws
located on the top of the AS/400
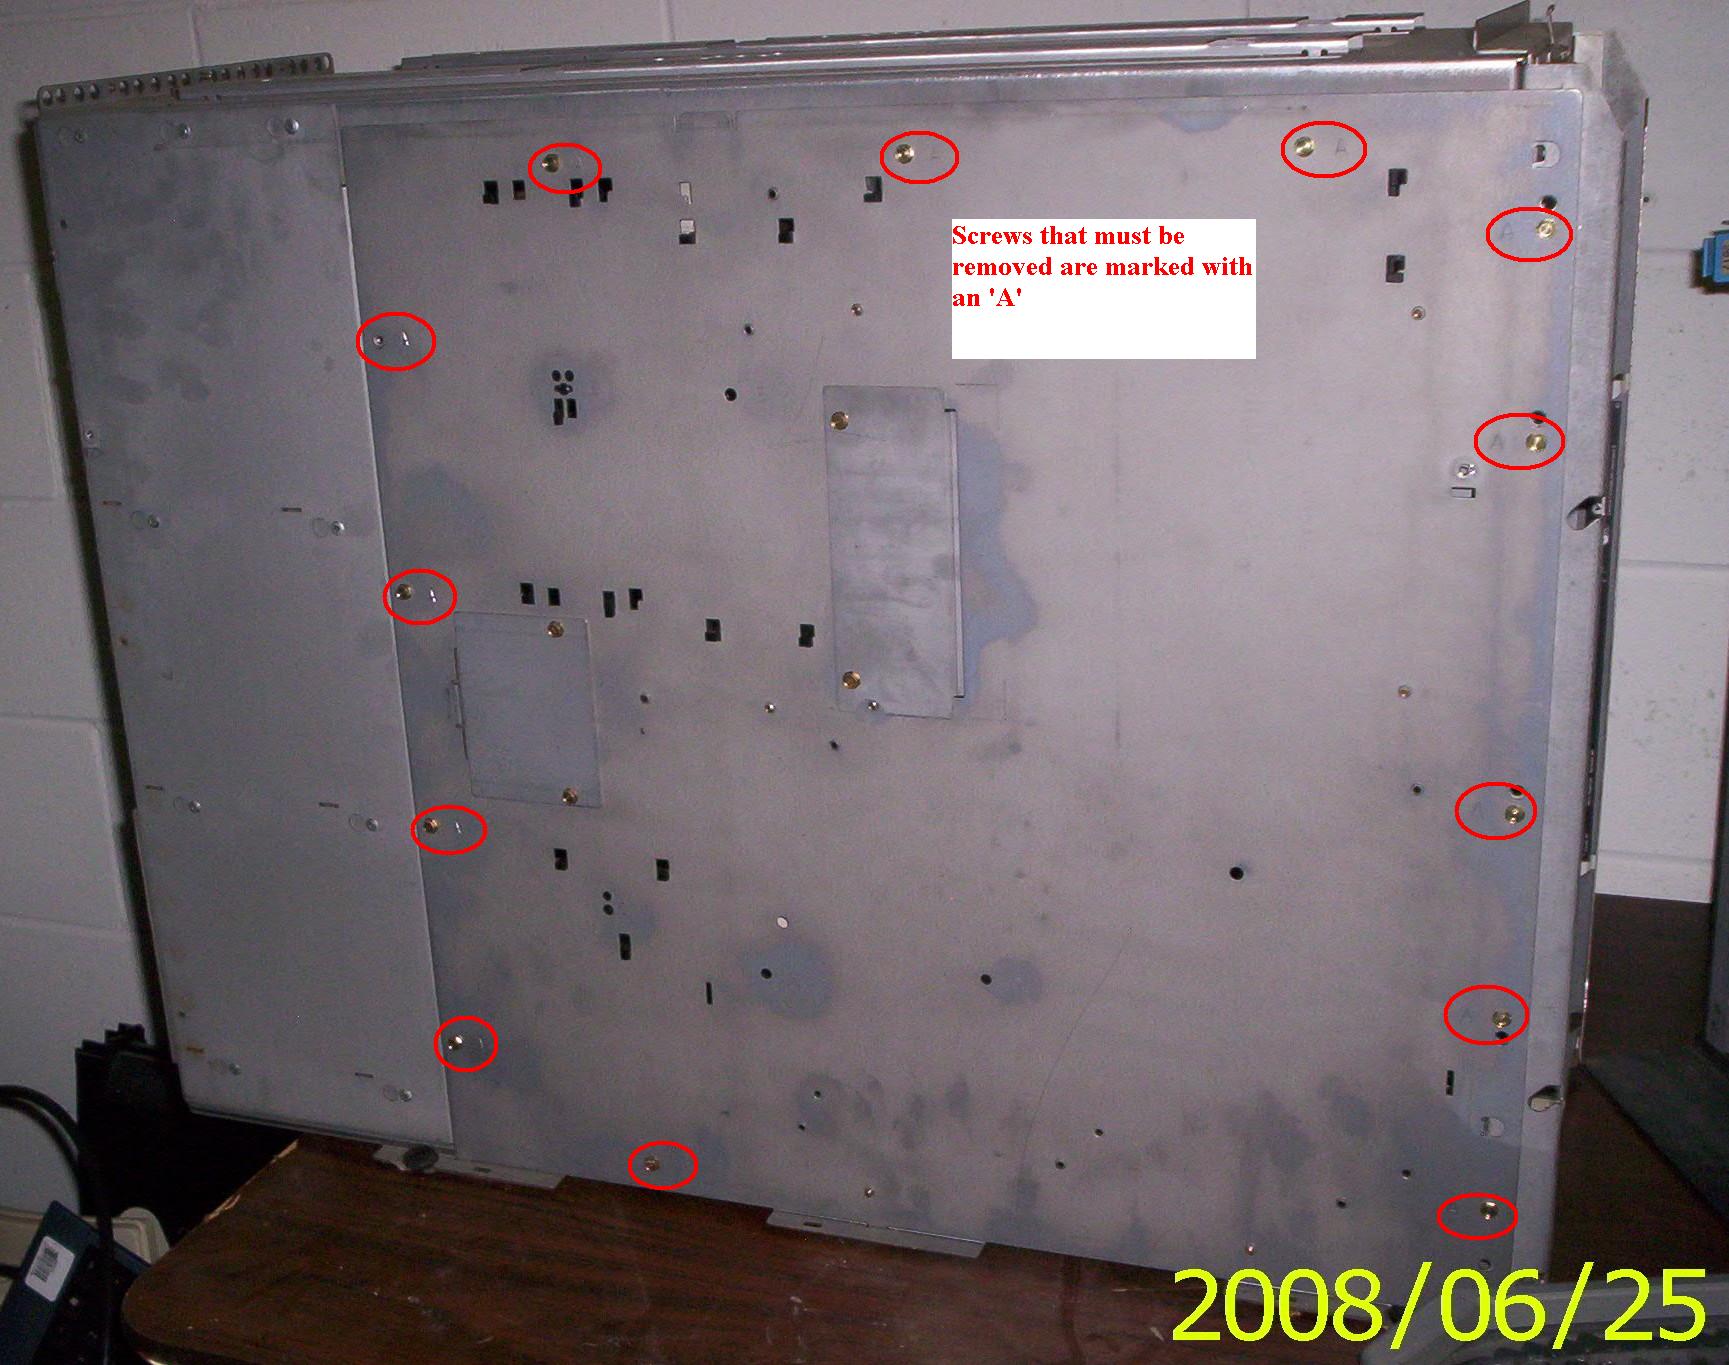
- Remove the left side metal panel.
- If you are facing the front of the server the left
side is your left.
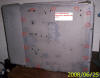
- You will multiple screws to remove.
- Screws to remove are marked with an 'A'.
Remove the Covers
This step requires 15-45 minutes
- Power down system if it isn't already down
- Unplug power cable
- Mark the location of cables and remove all cable attachments in the rear
of the AS/400
- you can always make a chart of plug-in locations if you don't think
you'll remember!
- Take the AS/400 to a location where you can blast it out with an Air
Compressor
- Remove the front cover
- Loosen but don't remove the screws holding on the top panel. There
should be one in the front and 1 in the back.
- Remove the black top panel
- Remove the 2 black side panels. Each side is held on by 2 screws
located on the top of the AS/400
- Remove the left side metal panel.
- You will have
multiple screws to remove (shown below).
- Screws to be removed are marked with a 'A' on the metal panel.
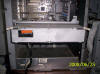
Remove the Main Storage box unit
This step requires 2-3 minutes
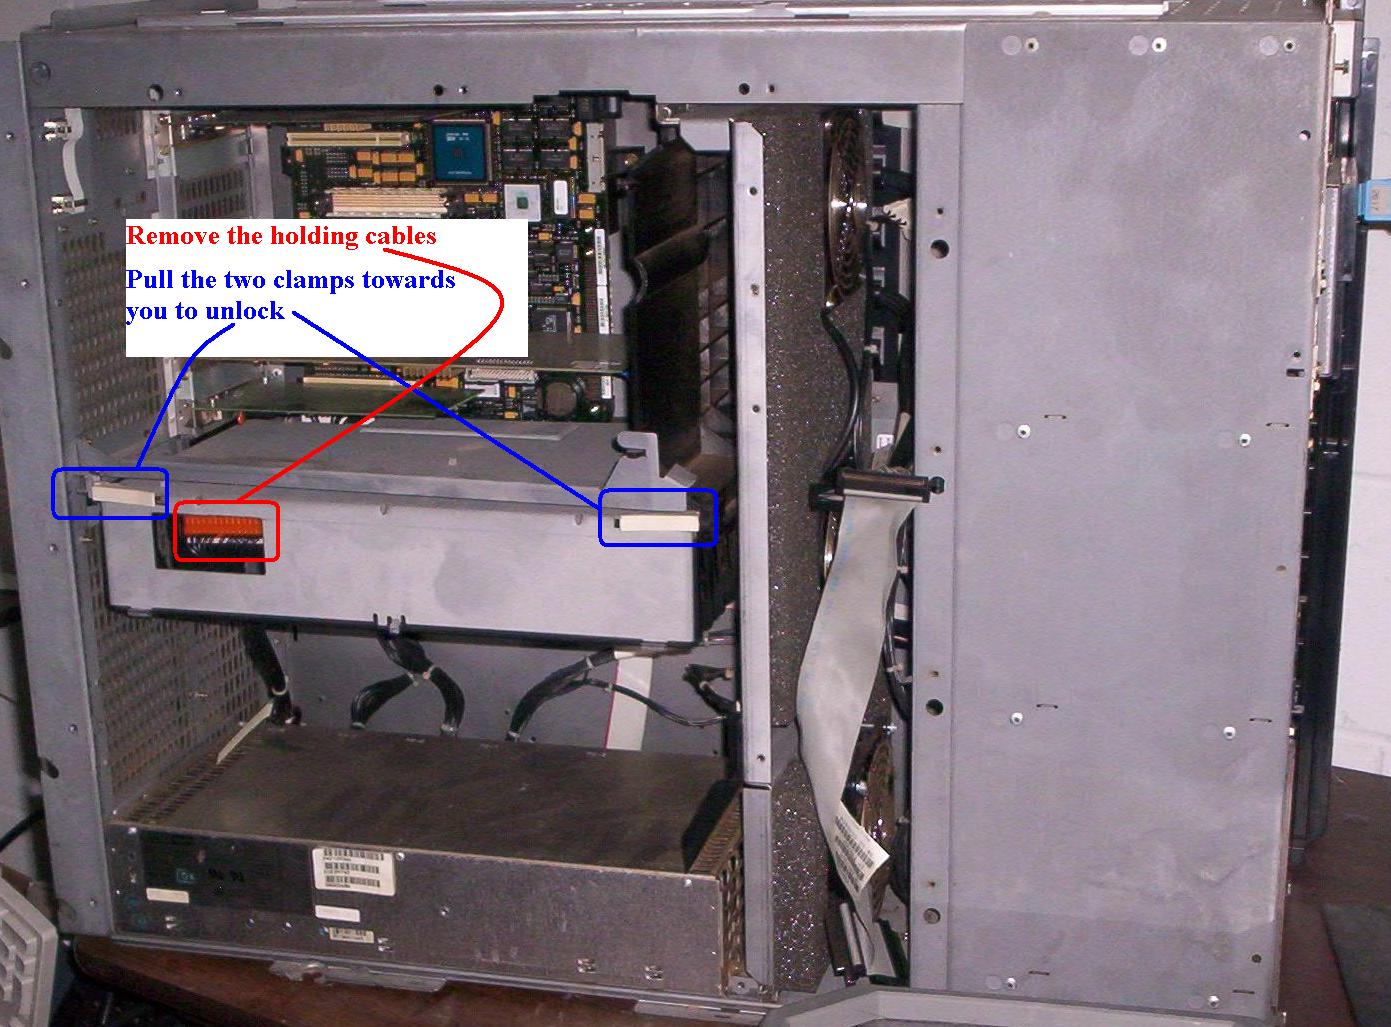
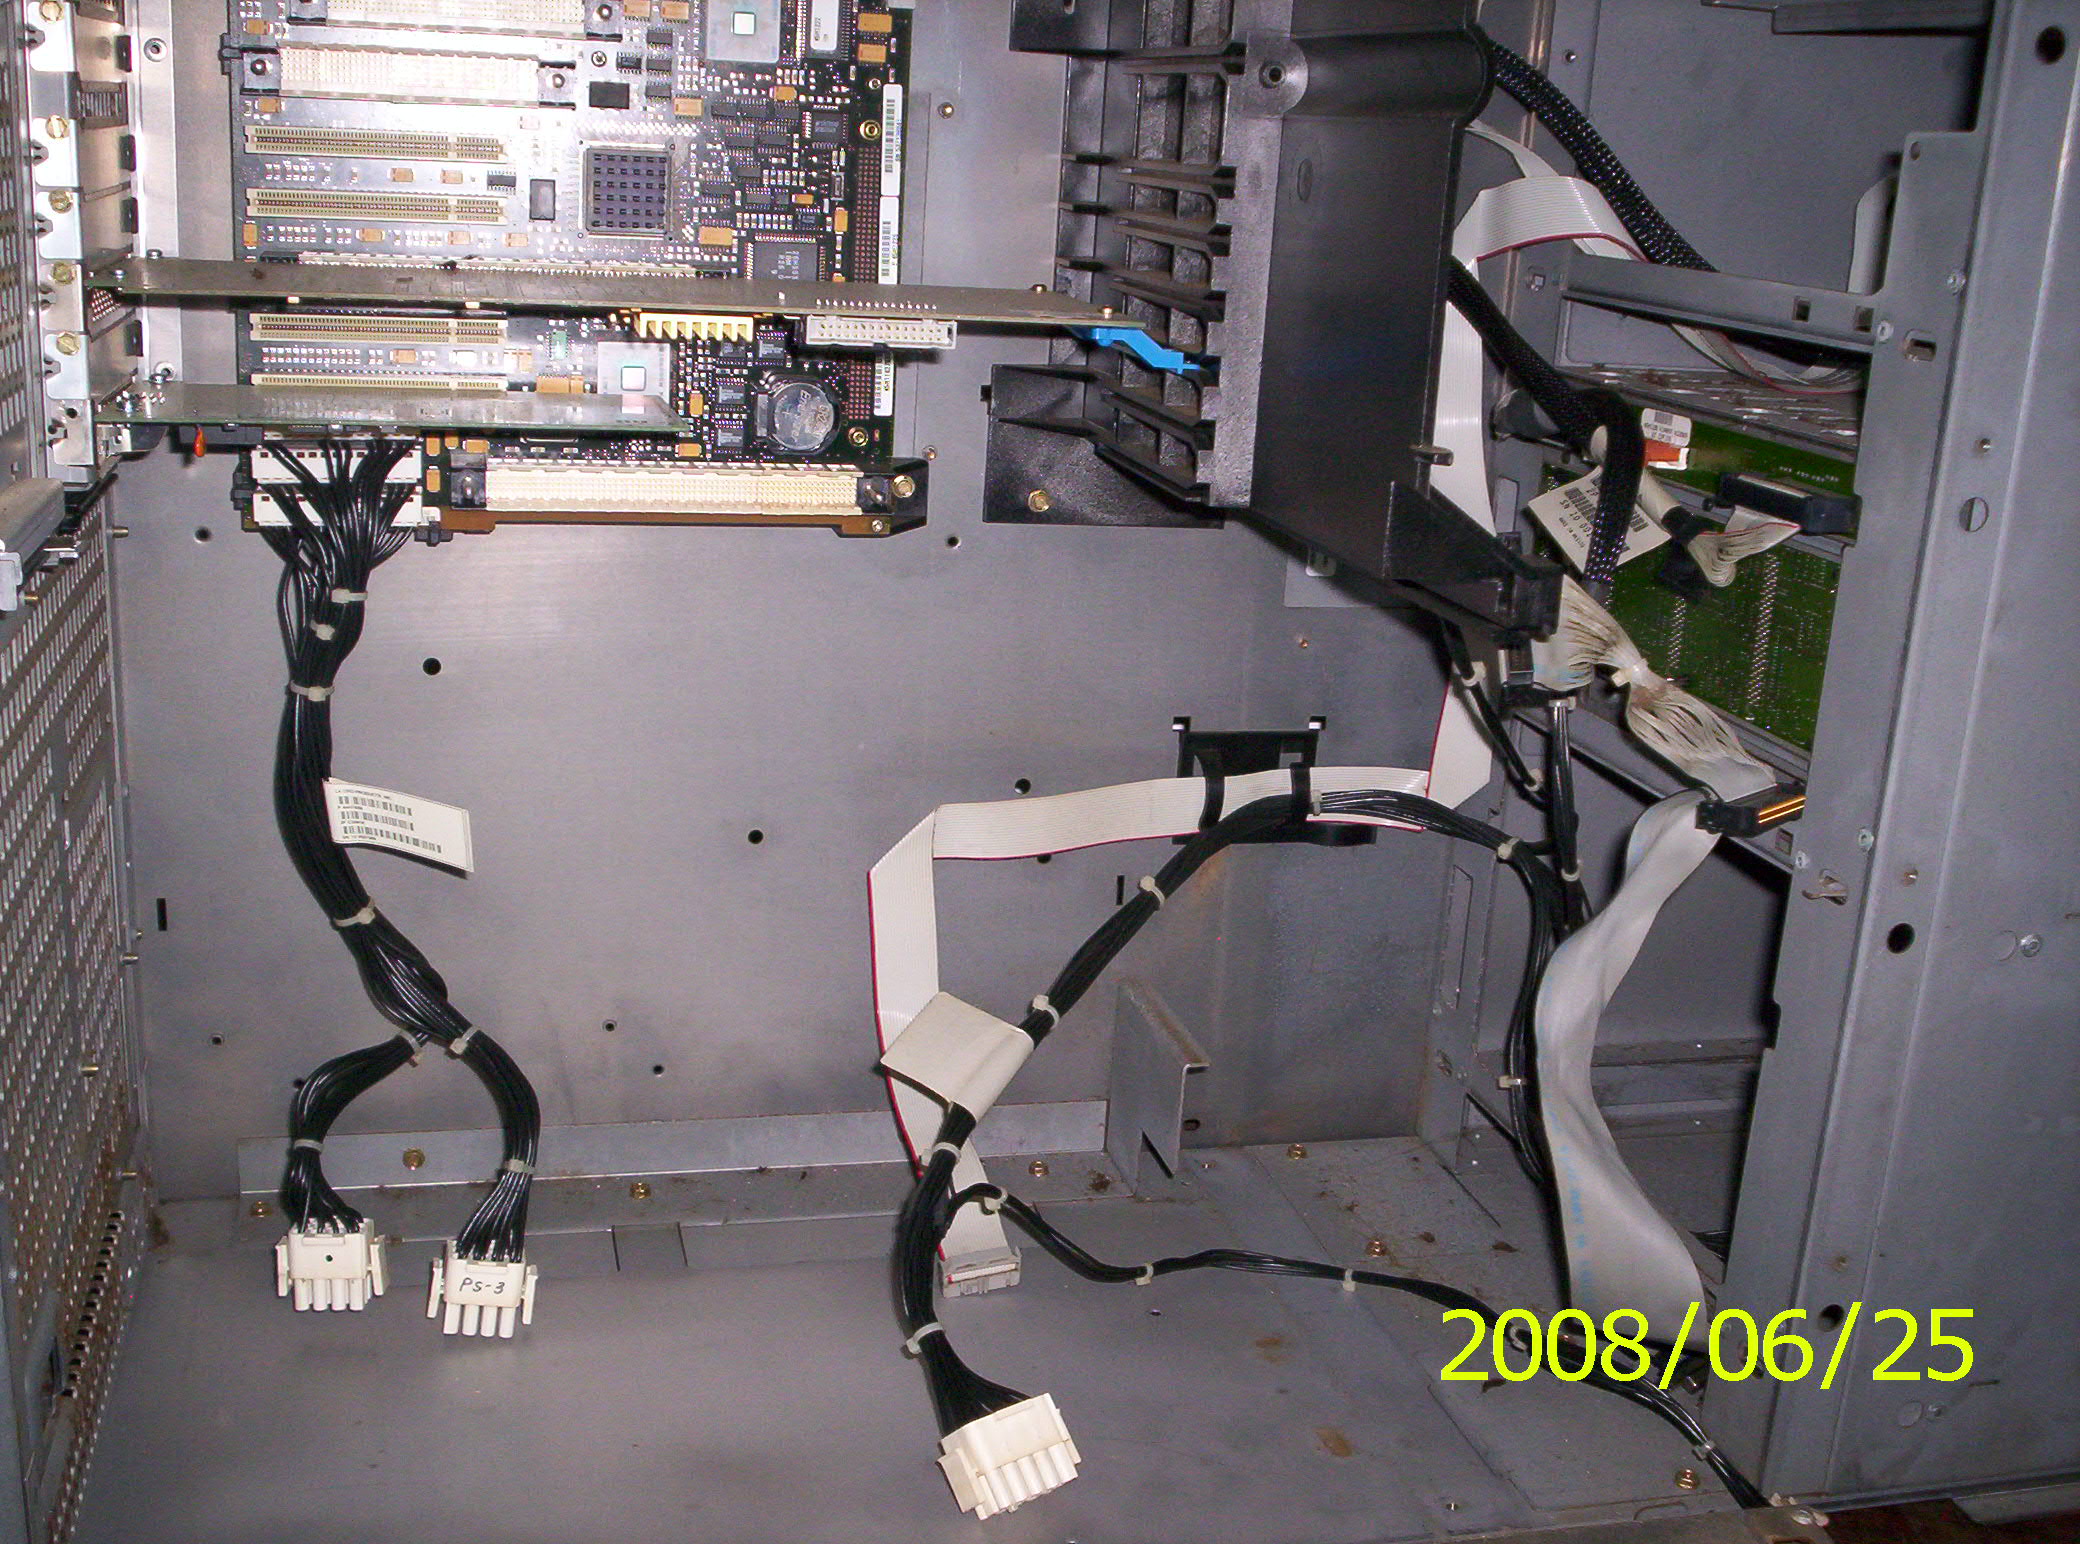
- disconnect any cables under the box unit
- note where the cables go for when you put the system back together
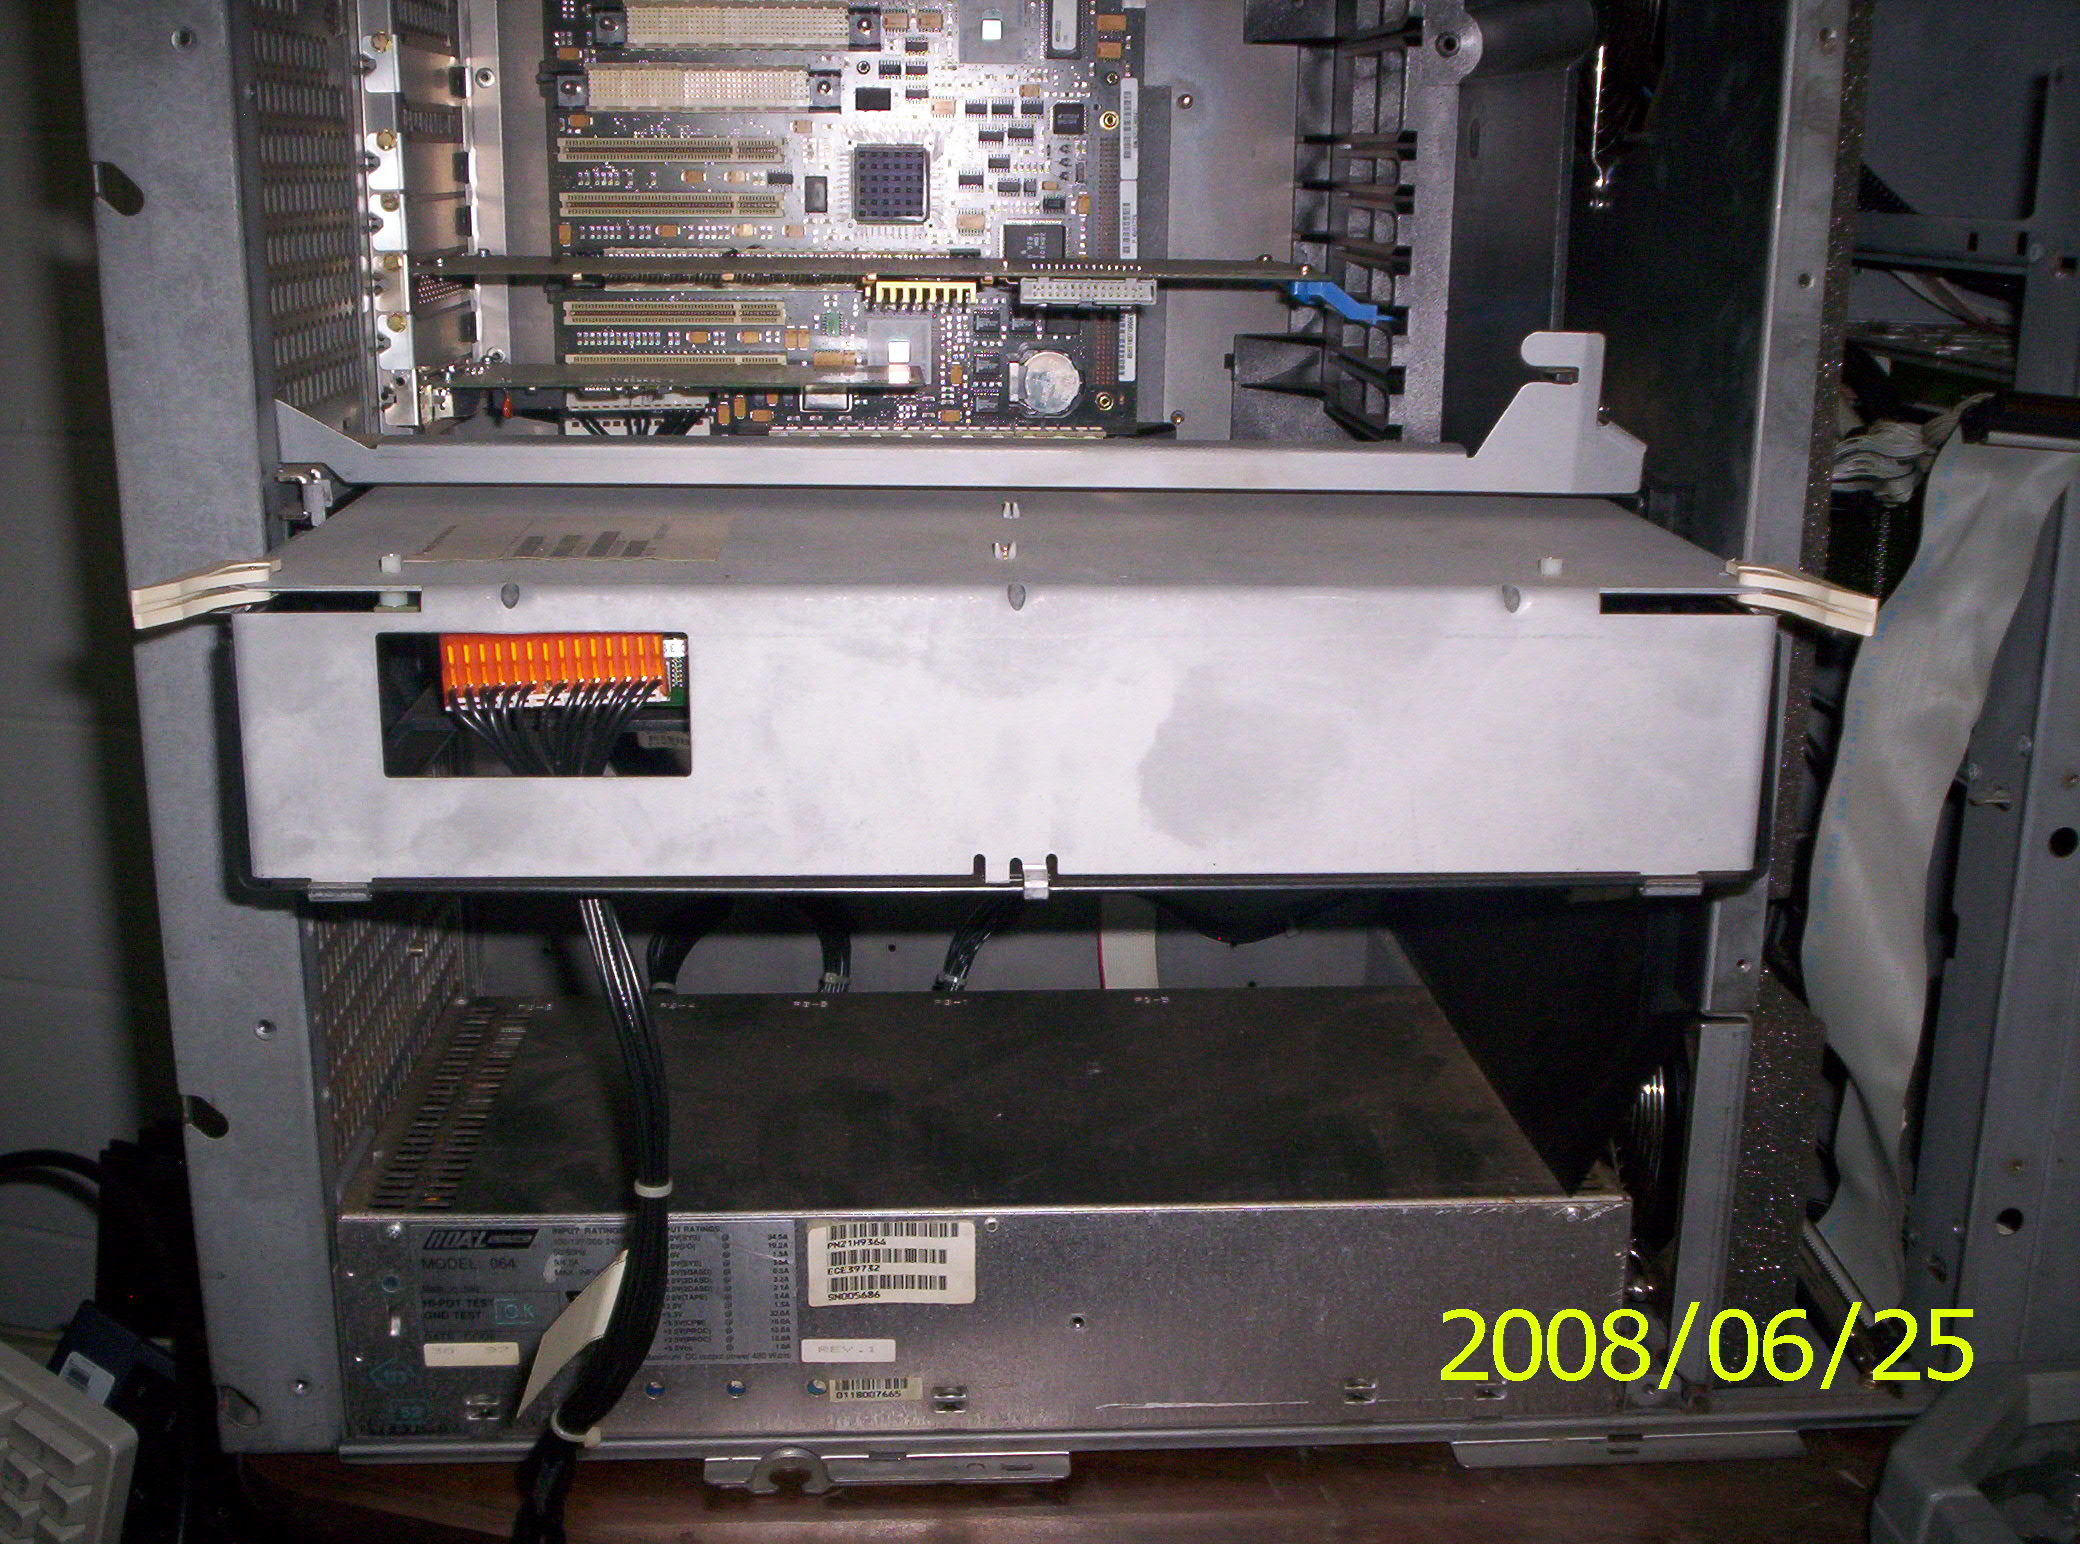
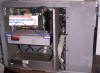
- pull the two white clamps towards you
- pull the entire unit towards you and slide it out of the server
- place in a dry safe area away from electrical outlets and/or tools
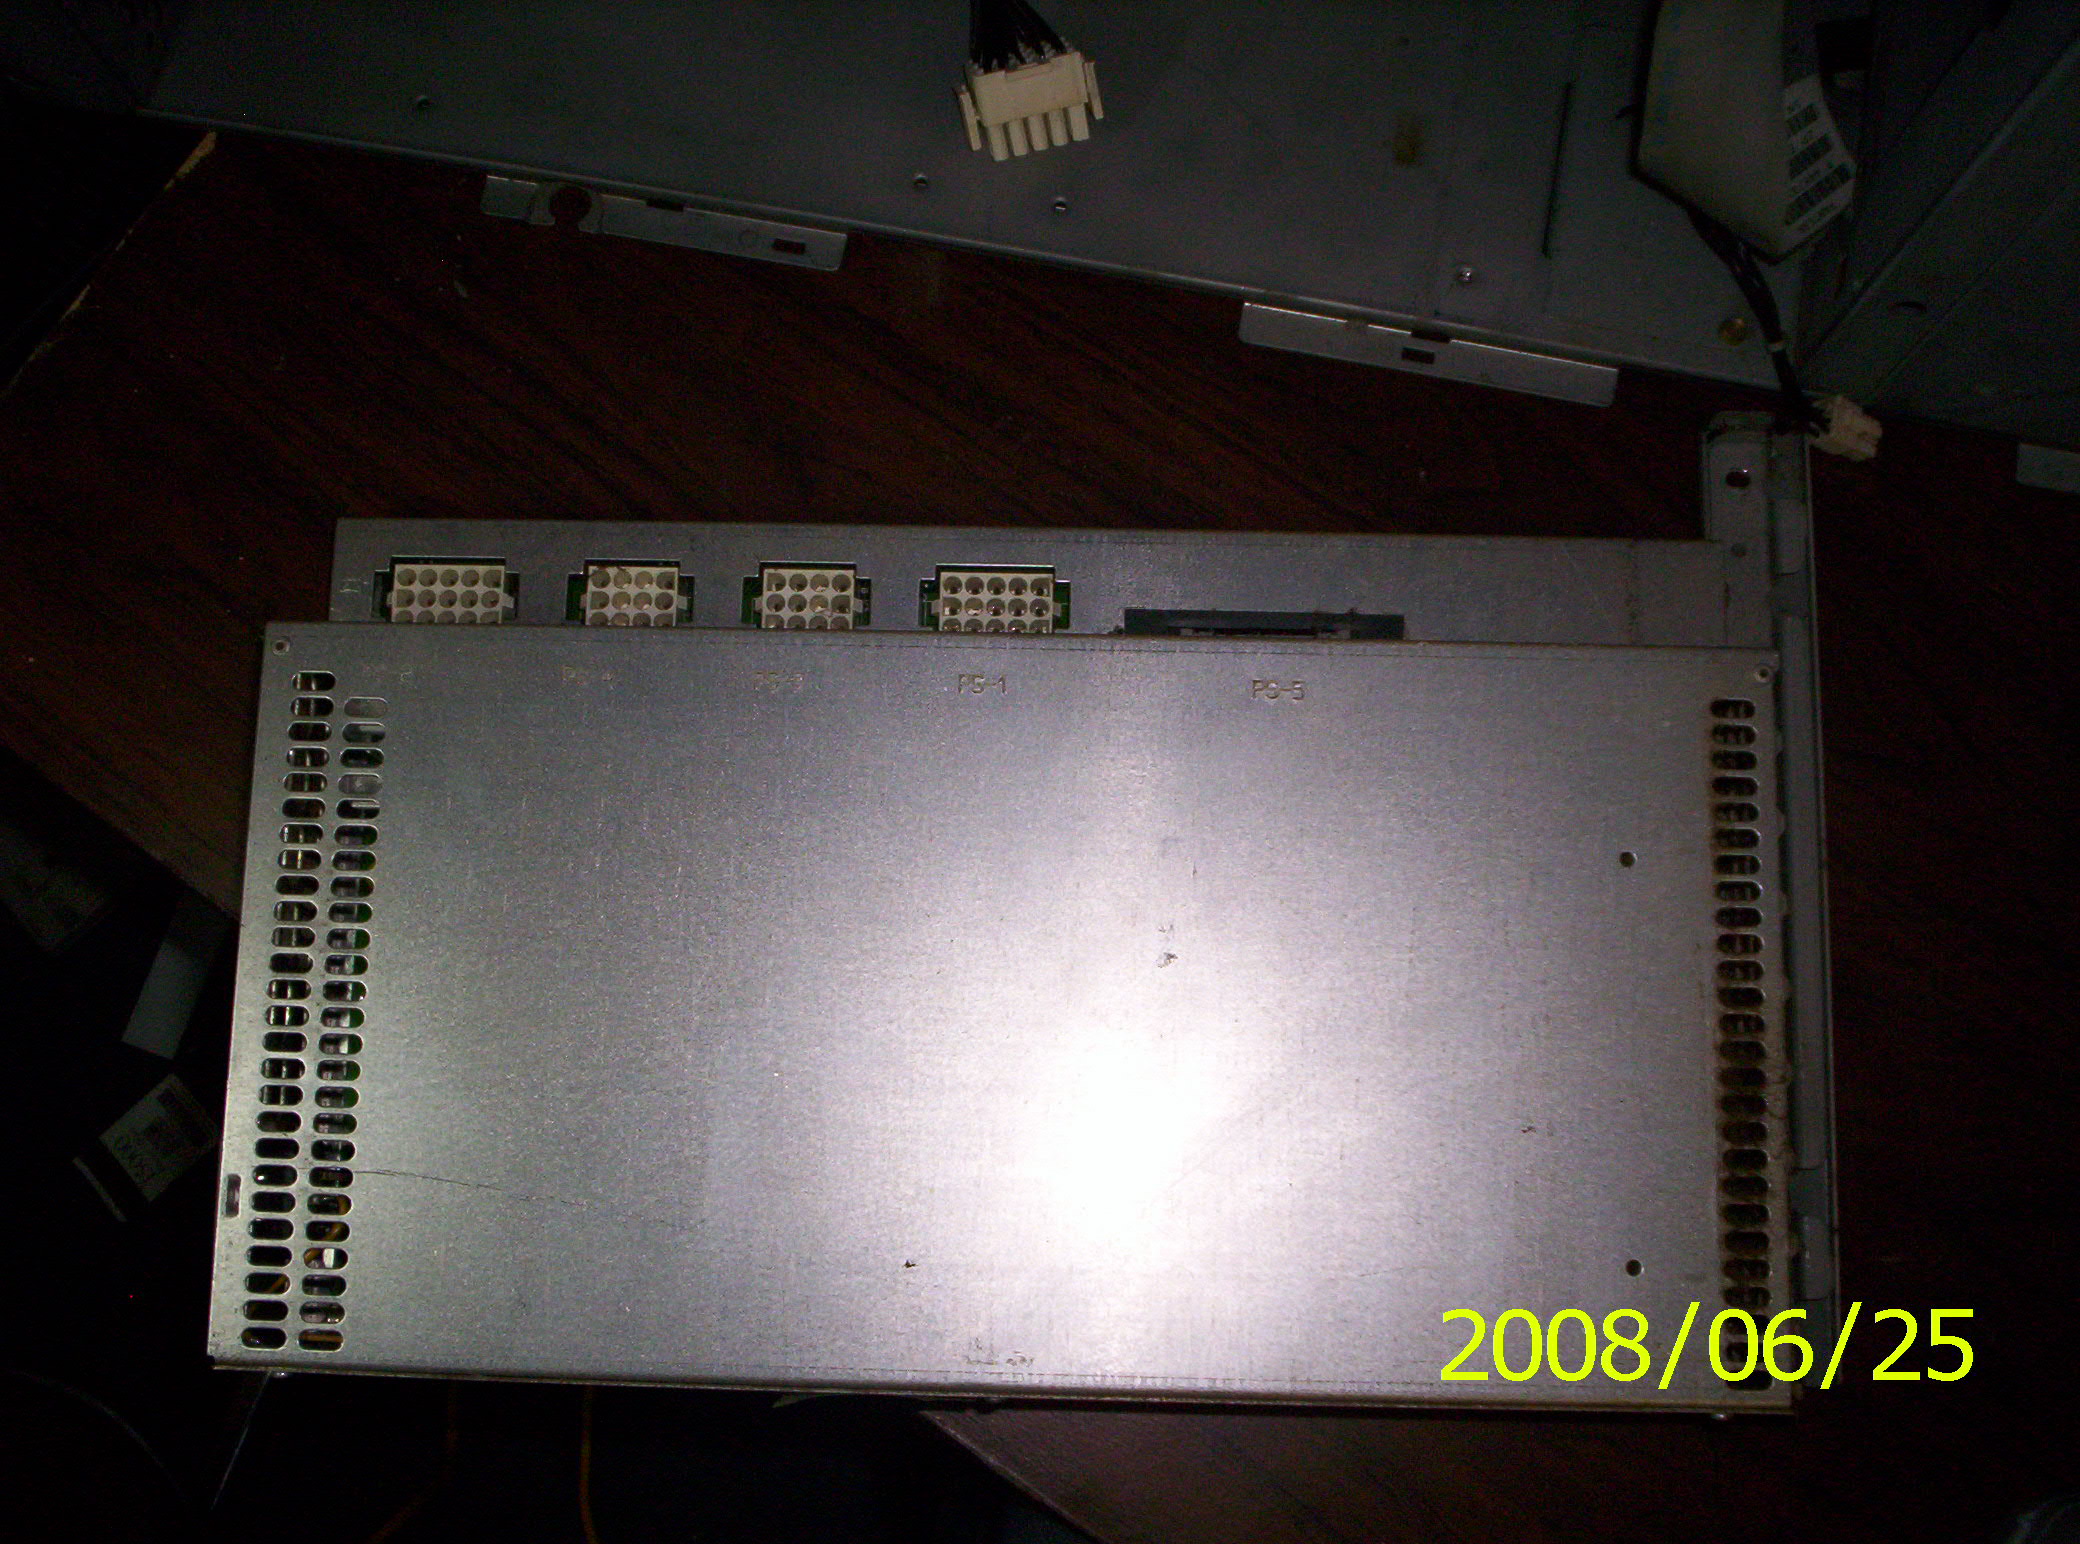
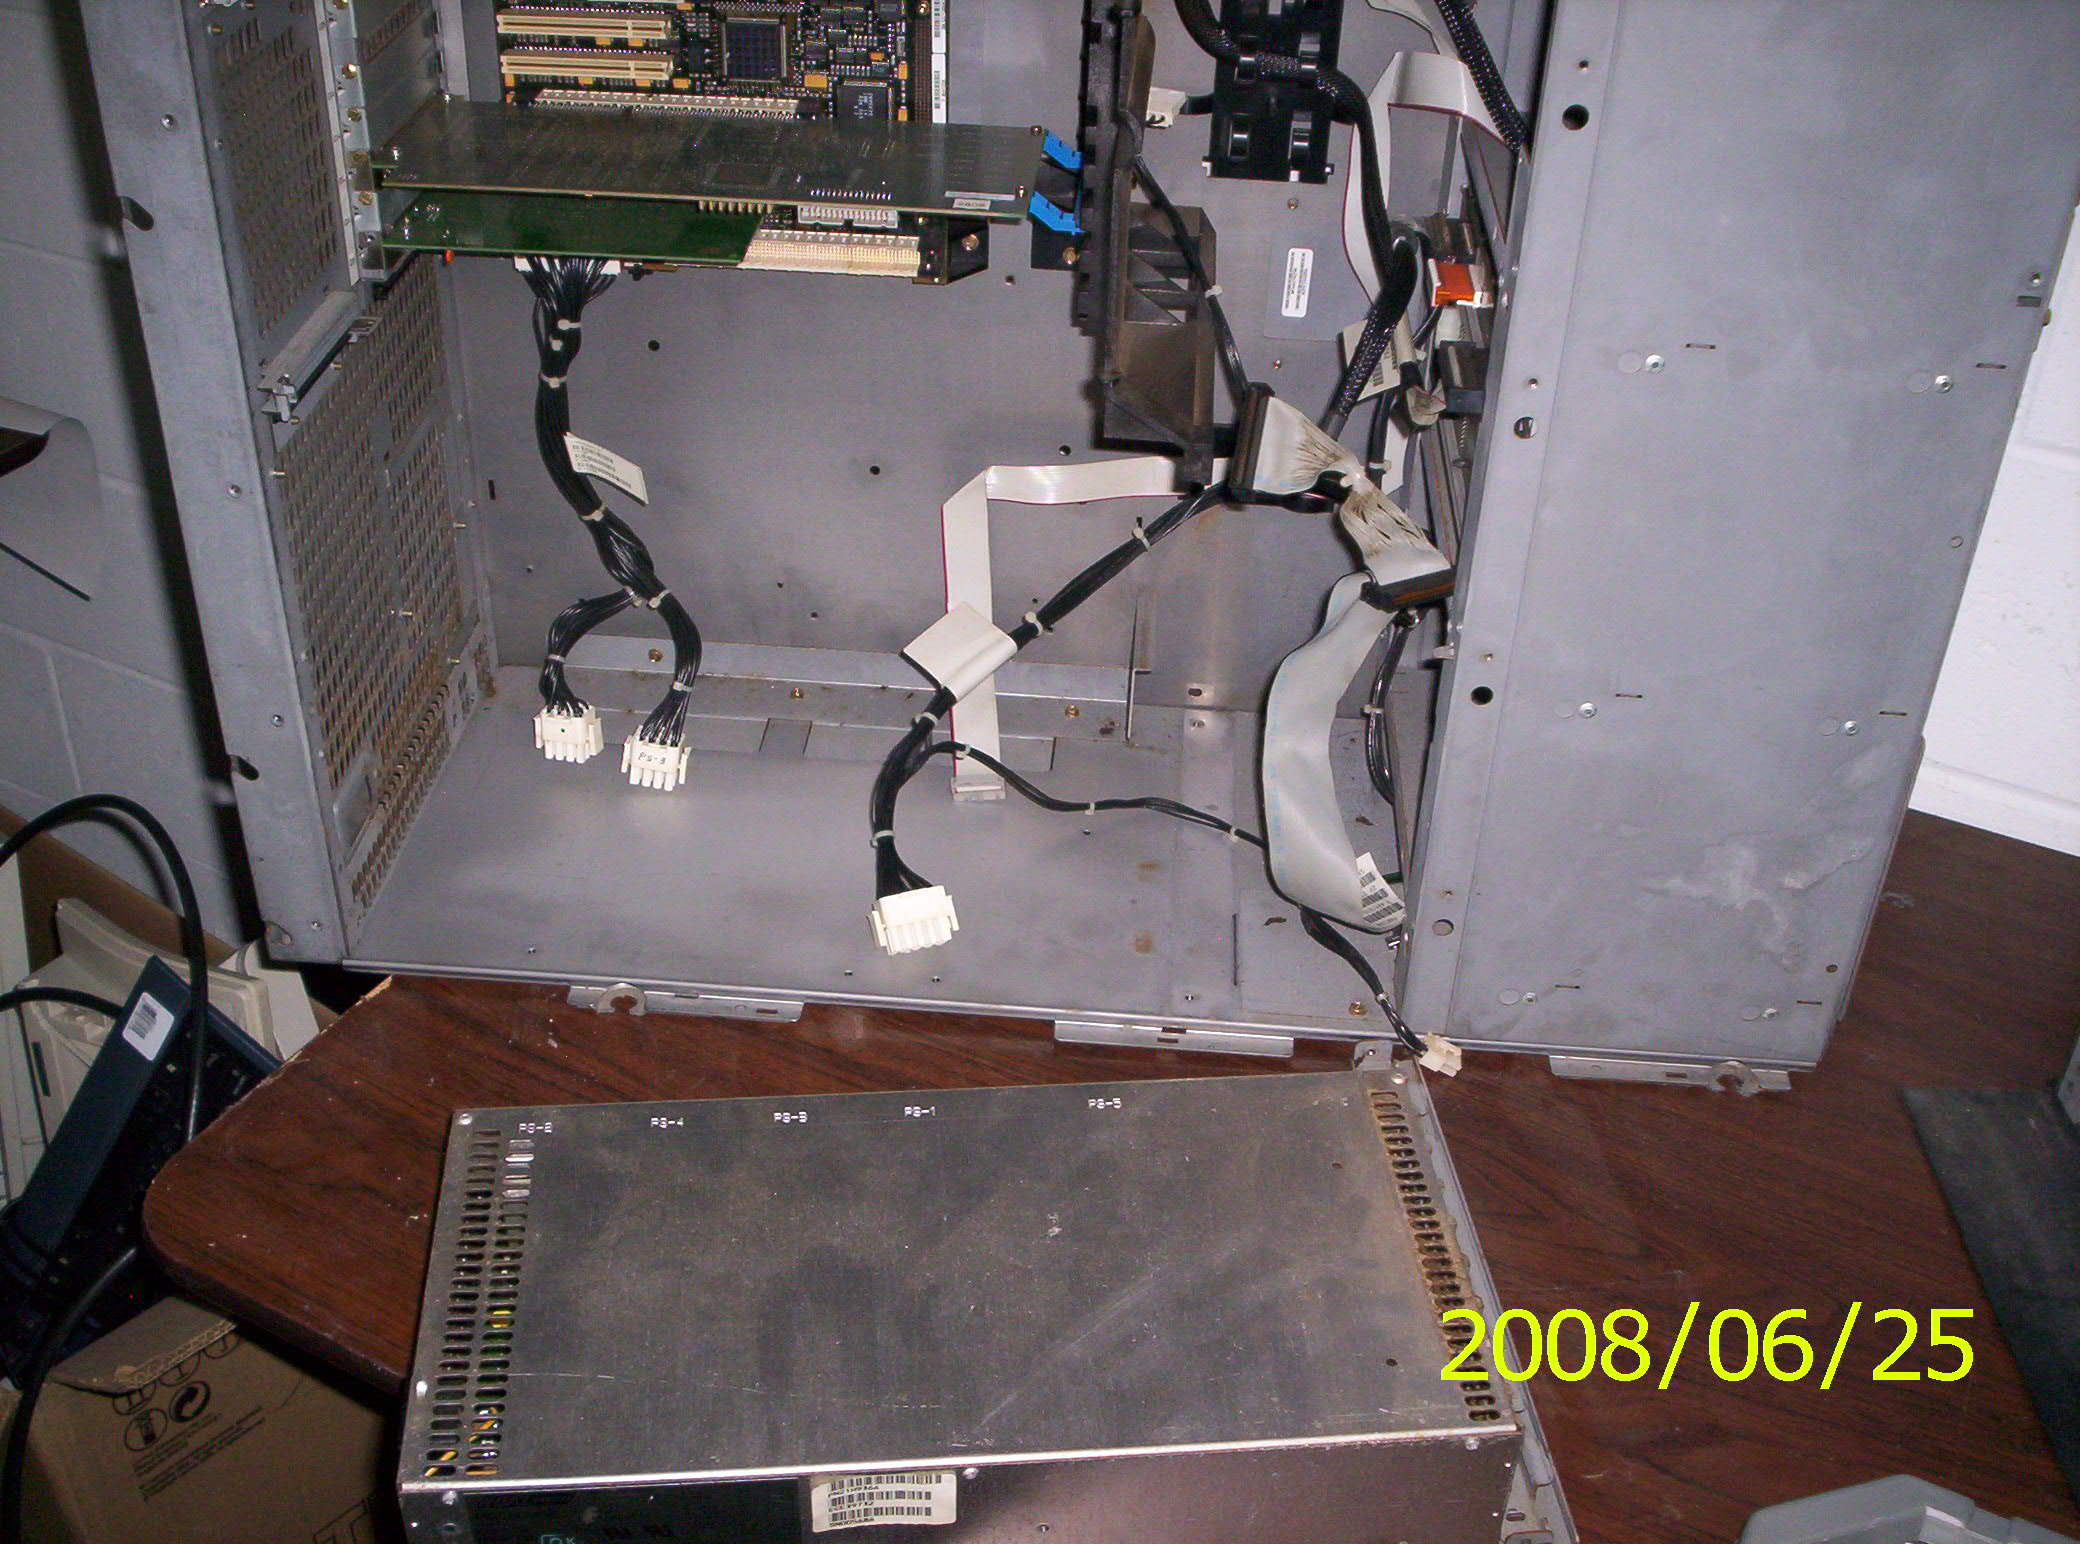
Remove the old power supply
This step requires 10-15 minutes
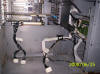
- disconnect cables from the power supply
- disconnect any screws holding down the power supply
some screws
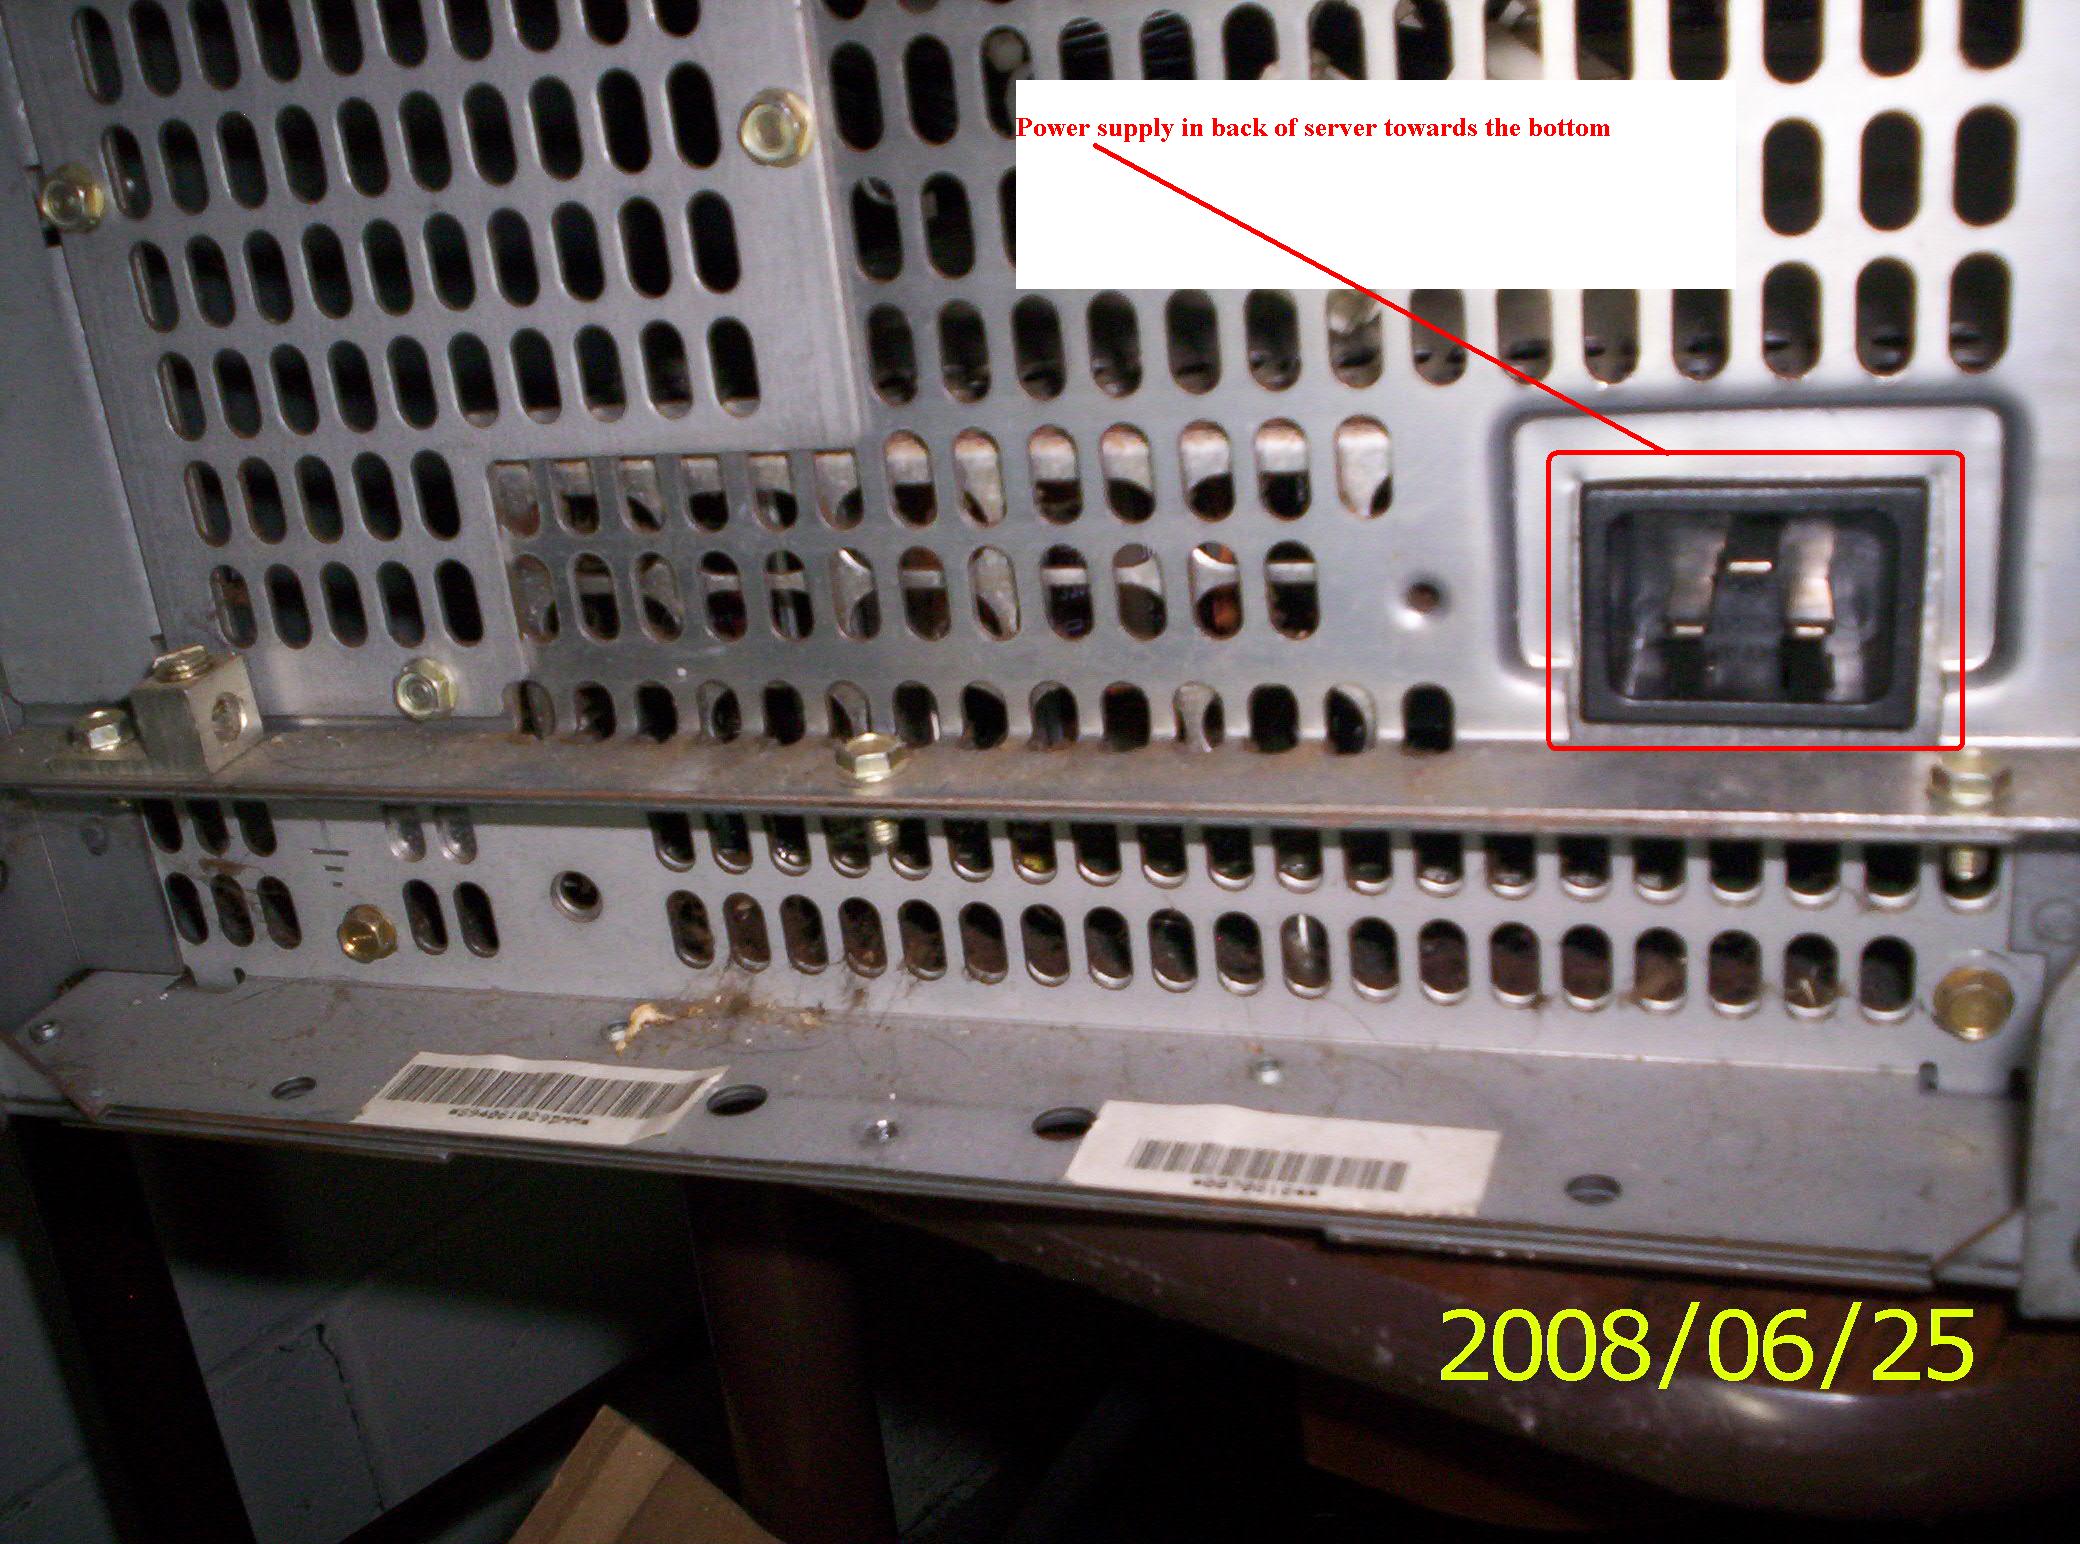
may be located in the back of the server close to the power plug in
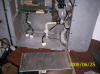
- remove and replace power supply
- the old power supply slides straight out easily once the screws and
cables are removed
- insert cables back into the power supply
- replace screws
Replace the Main Storage box unit
This step requires 2-3 minutes
- slide the main storage unit into place
- replace cables under the box unit
- close the two white clamps on both sides of unit
- the unit should lock into place comfortably
Test the power supply
This step requires 1-3 minutes
- plug the power supply into the back of the server
- if the LED light appears on the front of the server disconnect power
cable and continue to next step
Replace the side panels
This step requires 5-10 minutes
- slide the panel downwards into place
- replace the screws marked 'A' on the metal panel
- slide the black panel cover downwards into place
- replace the two screws (one in the front and one in the back
- slide the black panel holders down into position
- replace the top and front panels
- replace the power cable
|